23
DIY Dog Bed
Last Tuesday, you got a little glimpse of the 'party' in the living room that Remy had with her dog bed. As you might recall, we came home the Friday before to find this scene...

That was a little more low-key than usual. Anyway, I decided that DIY-ing a new bed for Remy, reusing the current filling plus adding some new fluff, would be more economical and durable than anything I could buy at a store. Awhile back, I found this tutorial for a kid's floor cushion from Living With Punks.
It was essentially the same shape as Remy's bed, just with different dimensions, so I figured it would be a good guideline for doggy bed assembly. I pinned it on Pintrest to save for future reference.
Oooo, I just want to snuggle him! ...Er, Let's get on with the bed making.
I wanted Remy's bed to be both durable and aesthetically pleasing because - let's be honest - given its size, it might as well be a major focal point in our living room's decor. So the supplies I picked up were:

The foam was very static-y and had lots of tiny pieces, so I decided to sew closed some old t-shirts with the foam inside, plus one additional t-shirt full of the old filling. I literally just sewed the arm and neck holes closed, dumped a bag of foam in each shirt, then sewed the bottom of the shirt closed.


The idea is that when it comes time to wash her bed, most of the filling (at least the smaller stuff) will be contained in 'bolsters' (the t-shirts) so that we don't have to deal with this :


You could easily sew together one giant bolster, but I didn't want to spend more money on fabric when I could just use t-shirts.
While Remy was swimming in a sea of stuffing, I was busy cutting apart her old bed along its seams, which left me with three pieces, much like the pieces in the floor cushion tutorial: the top and bottom circles (each 48 inches in diameter) plus the side piece (6 inches wide and about 154 inches long). The side piece was actually made up of three separate strips of fabric, since one of the strips contained a zipper. Because I also planned to add a zipper (and my fabric wasn't wide enough to cut one long strip), I determined the measurements of the three almost-equal strips were 51in.+51in.+52in.=154inches total (the circumference of the bed). I things are getting a little math-y, so I hope you're still following!
I used the old bed pieces to trace the top circle onto the new fabric, measuring my pencil line 1 inch out to accommodate the seam allowance.


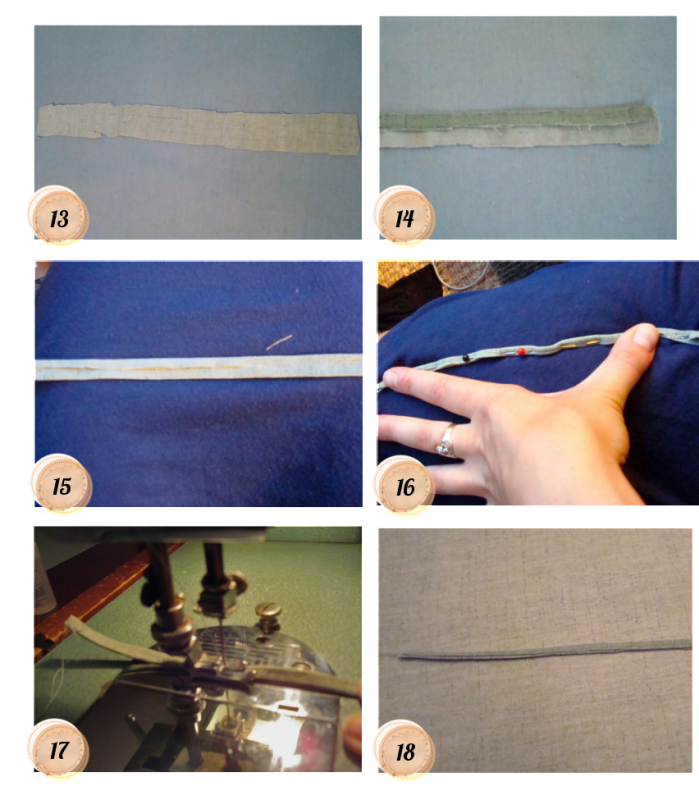
 The first piece I sewed was the zipper, following these instructions, though I kind of half-a**ed it by not doing a basting stitch, using glue, or a zipper foot. Oh, and I bought a separating zipper (the kind you would have on a sweatshirt) instead of a regular one...so basically, it's amazing this thing even turned out ok, especially since I was a zipper-sewing virgin. One thing to note is that I stitched around the whole thing twice for extra reinforcement.

With the zipper piece done (are you tired of me saying "zipper" yet?), it was time to attach all the side pieces together. This required some quick pinning, then sewing the ends of all three pieces, right sides (aka patterned sides) facing, into one long strip.


Glad we've got that covered. Evening three of dog bed making was when I finally sewed the side piece and first circle together for the second and last time. After two evenings of issues, I couldn't seem to excuse myself from another. Let me preface this by saying that anyone who has ever used a sewing machine knows that there is an evil spirit lurking inside every single one. Not.Even.Kidding. I think every time I've ever used my sewing machine for a project, at least one thing happens that leaves me cursing at it. Maybe it's because Greta the Mean Green Sewing Machine has been around since the 1950s and has a short temper.

Or it could just be user error. Either way, I can't imagine I'm the only one (besides Sherry at Young House Love) who has these problems. At least my machine has kept me from subscribing to the Humpty Dumpty school of hard knocks - I've learned how to put her all back together again.
So I guess what I'm getting to is my night #3 incident.

Enter stage left: blood blister/cut/thumb nail bruise. Let me tell you. Almost sewing your thumb off is a sure fire way to instill a fear of sewing machines in any DIY- savvy person. I hope the fact that it still hurts and I can barely button my own buttons a week later is enough to convince you toquestion my sewing abilities never let your fingers get caught up in your sewing bidness. By that I mean, don't feed your fabric from the front even when you know it's a bad idea but think it will be ok. Because it won't.
At this point, my blood, sweat, and almost-tears were officially part of Remy's dog bed. I took a band-aid break and Darren asked, "So, do you think you'll finish tonight so Remy has her bed while we're at work tomorrow?" I think I muttered something along the lines of "Remy can shove it and so can this #*$% bed." (Sorry Remy, I take it all back now. Please don't sit on me.)
But actually, I did finish that night, after one last step. Sewing the second circle to the other edge of the side piece (which was now attached to the first circle on one edge). I did it the same way as the first circle, by laying the pieces right sides facing and pinning around the edges. I had to bunch some of the top circle's fabric into the middle to get the outer edges to line up flat.


Then I sewed around the edges twice for reinforcement. Because the bed has a zipper, I didn't need to worry about leaving an opening in the stitching in order to turn the bed right-side-out. Unzip and it was done.

All that was left was to stuff and fluff with the t-shirt 'bolsters' and the old reused filling.


Oh, what we do for our dogs.
I'm hooking this project up with the Pinterest Challenge: Winter Edition, hosted by Sherry at Young House Love, Katie at Bower Power, Cassie at Hi Sugarplum, and Erin at The Great Indoors.


...complete with not so innocent face. And so, an 'emergency' dog bed project was born. As I mentioned in my first post, this whole situation wasn't exactly a surprise. Remy has ripped holes in her bed (and I've sewn them) twice already, so I knew that my temporary fixes weren't going to last long. A number of people pointed out to me that Costco has large dog beds for about $40, but apart from not having a Costco membership, anything I've seen for that price either wasn't big enough, didn't have a separate washable cover, or had very thin material...meaning it definitely wouldn't last almost 5 years like the first one did. Especially with this kind of action (to the tune of "The Entertainer" so you don't have to listen to our tv...it always pops into my head when she does this):
That was a little more low-key than usual. Anyway, I decided that DIY-ing a new bed for Remy, reusing the current filling plus adding some new fluff, would be more economical and durable than anything I could buy at a store. Awhile back, I found this tutorial for a kid's floor cushion from Living With Punks.
 |
I also pinned this doggy-bed-related-but-otherwise-irrelevant picture of an Irish Wolfhoud, which made me laugh because it perfectly sums up Remy's relationship with other dogs. And I love Irish Wolfhounds.
 |
I wanted Remy's bed to be both durable and aesthetically pleasing because - let's be honest - given its size, it might as well be a major focal point in our living room's decor. So the supplies I picked up were:
- 4 yards of seafoam-colored indoor/outdoor fabric with a subtle scroll print from Joann Fabrics for $39.96 with a 50% discount. (It's similar in color to the fabric on my blue pillows, plus its outdoor durability means it's moisture and stain resistant, easy to clean, and stands up to heavy wear.)
- Three 12 ounce bags of shredded foam (to add to the existing filling) for $8.38 with various coupons. (Joann Fabrics will accept multiple coupons in one transaction so I always have them scan the printouts to see what will work.)
- Thread in a coordinating color, which I already had
- Total cost: $48.34 (less than half the cost of her original bed when I purchased it almost 5 years ago)
The foam was very static-y and had lots of tiny pieces, so I decided to sew closed some old t-shirts with the foam inside, plus one additional t-shirt full of the old filling. I literally just sewed the arm and neck holes closed, dumped a bag of foam in each shirt, then sewed the bottom of the shirt closed.
The idea is that when it comes time to wash her bed, most of the filling (at least the smaller stuff) will be contained in 'bolsters' (the t-shirts) so that we don't have to deal with this :
While Remy was swimming in a sea of stuffing, I was busy cutting apart her old bed along its seams, which left me with three pieces, much like the pieces in the floor cushion tutorial: the top and bottom circles (each 48 inches in diameter) plus the side piece (6 inches wide and about 154 inches long). The side piece was actually made up of three separate strips of fabric, since one of the strips contained a zipper. Because I also planned to add a zipper (and my fabric wasn't wide enough to cut one long strip), I determined the measurements of the three almost-equal strips were 51in.+51in.+52in.=154inches total (the circumference of the bed). I things are getting a little math-y, so I hope you're still following!
I used the old bed pieces to trace the top circle onto the new fabric, measuring my pencil line 1 inch out to accommodate the seam allowance.
I cut out my new top circle and then traced it on the fabric to make the bottom circle.
Then I measured, drew, and cut out the strips that would form my side piece, adding in 1 inch for seam allowance. Two strips measured 52in. x 7in. and the zipper piece (which I then cut in half to insert the zipper) was 53in. x 8in.
The reason the zipper piece was 8in. was because I had to account for seams to sew in the zipper, plus seams to attach it to the top and bottom circles (2 sets of seams adds 2 inches). Here's a diagram that better illustrates the pieces:
With the zipper piece done (are you tired of me saying "zipper" yet?), it was time to attach all the side pieces together. This required some quick pinning, then sewing the ends of all three pieces, right sides (aka patterned sides) facing, into one long strip.
Then I joined the ends of the strip and sewed those together to make a continuous circle. Before proceeding, I pressed all my seams so that my fabric was nice and flat.
Next step was to attach the side piece to the top circle. I laid the circle out, flat on the ground, with the right side facing up. Laying the side piece on top with right sides facing together, I pinned the outer edge of the side piece to the outer edge of the circle. REWIND. Let me note that I actually did this completely wrong the first time. Not only did I waste an entire night after work incorrectly pinning and double-sewing (twice for reinforcement of course), but then I wasted an additional work night solely ripping seams out to redo it. You live and you learn I guess. So let's learn from my stupidity.
Wrong way:
Right way:

Or it could just be user error. Either way, I can't imagine I'm the only one (besides Sherry at Young House Love) who has these problems. At least my machine has kept me from subscribing to the Humpty Dumpty school of hard knocks - I've learned how to put her all back together again.
So I guess what I'm getting to is my night #3 incident.
Enter stage left: blood blister/cut/thumb nail bruise. Let me tell you. Almost sewing your thumb off is a sure fire way to instill a fear of sewing machines in any DIY- savvy person. I hope the fact that it still hurts and I can barely button my own buttons a week later is enough to convince you to
At this point, my blood, sweat, and almost-tears were officially part of Remy's dog bed. I took a band-aid break and Darren asked, "So, do you think you'll finish tonight so Remy has her bed while we're at work tomorrow?" I think I muttered something along the lines of "Remy can shove it and so can this #*$% bed." (Sorry Remy, I take it all back now. Please don't sit on me.)
But actually, I did finish that night, after one last step. Sewing the second circle to the other edge of the side piece (which was now attached to the first circle on one edge). I did it the same way as the first circle, by laying the pieces right sides facing and pinning around the edges. I had to bunch some of the top circle's fabric into the middle to get the outer edges to line up flat.
Then I sewed around the edges twice for reinforcement. Because the bed has a zipper, I didn't need to worry about leaving an opening in the stitching in order to turn the bed right-side-out. Unzip and it was done.
All that was left was to stuff and fluff with the t-shirt 'bolsters' and the old reused filling.
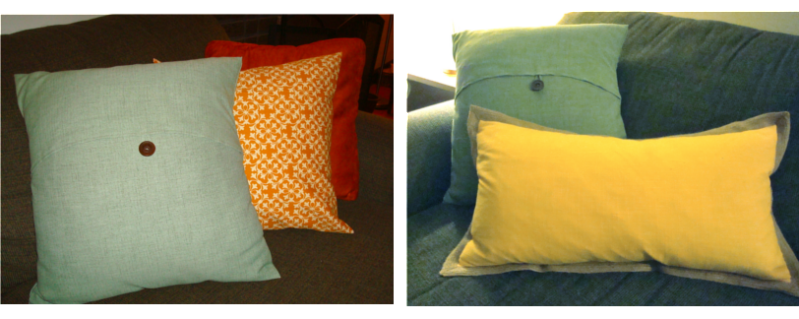
Ta daaa!
No fancy cording around the edges like the floor pillows on Pinterest had (it would've added too much to the cost), but that's ok. It's just a dog bed. And apparently a comfy one at that.
I'm hooking this project up with the Pinterest Challenge: Winter Edition, hosted by Sherry at Young House Love, Katie at Bower Power, Cassie at Hi Sugarplum, and Erin at The Great Indoors.
Feel free to check out my past Pintrest Challege projects too! A personalized typography LOVE print and Pottery Barn knockoff pillows.