0
Sweet & Spicy
Happy (now belated) Valentine's Day, loves! I originally started writing this this post as I was waiting for my valentine to arrive home from basketball on Tuesday, but since we didn't get our downtime together until about 10:30pm that night, I was never able to get the pics into the post. (Notice a trend here? Belated holiday greetings...belated Valentine's greetings...sometimes I suck at life.)
I have to admit...I generally don't go crazy over Valentine's Day. As much as I love decorating for holidays (and in general), Valentine's Day isn't something I go ga-ga about. Maybe it's because I (mostly) hate the color pink. Maybe it's because I don't like how the media seems to tell us that if we aren't buying All The Things for our partner that we don't love them enough. Or maybe I'm just a believer in doing the little things that show you care about your loved ones each day, not just on a day that 'designates' you to do so. Regardless, we don't do fancy dinners, or expensive gifts or grand public gestures of appreciation for Valentine's Day. While I love seeing others become joyful over those things, it's just not our style.
So in true DIY, made-with-love form, I raise a toast of cheap champagne (though not because I think cheaply of you) to you and your valentines, and I bring you our Valentine's Day.
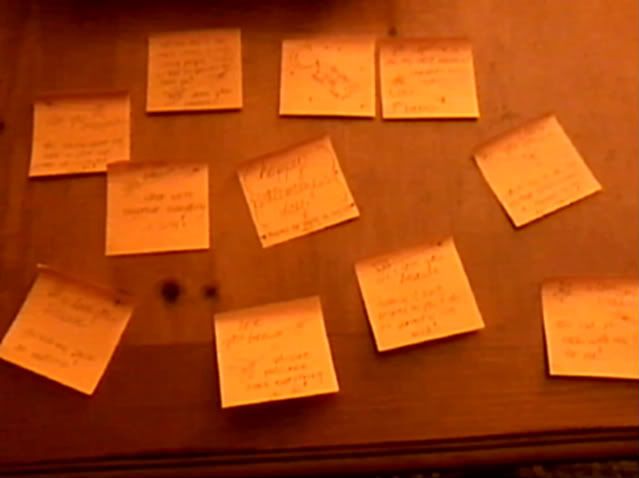
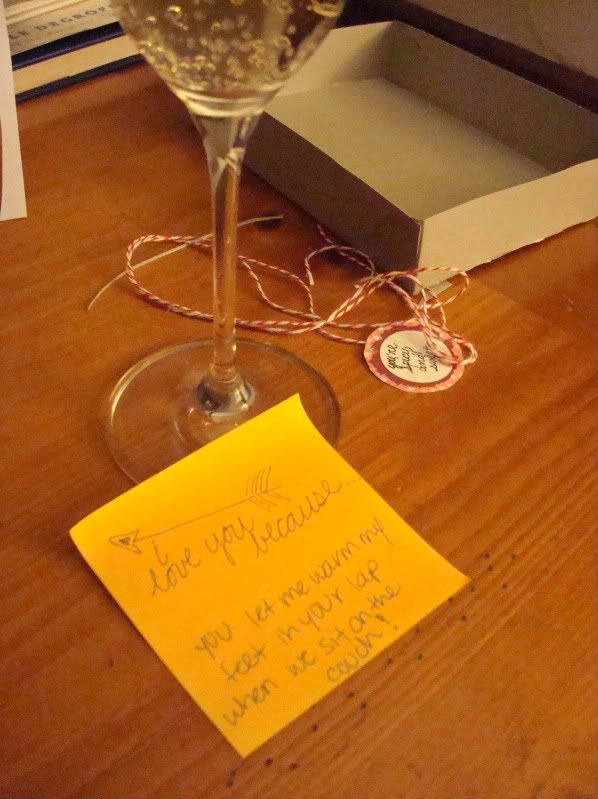
The morning started with Darren waking up to find 12 post it notes I wrote out last night with cupid arrows drawn on them, each saying "I love you because..." with a reason underneath each arrow. The picture did not come out clear at all, probably due to the fact that I took it on mydumbphone non-smartphone while it was still dark out. Knowing that D gets up before me and let's the dog out, I left the post it notes around the house last night in each place he wanders in the morning so that he would find them as he got ready for work. A free and heartfelt way to tell him how much I love the little things he does. Cheesy? Probably. Did he enjoy it? Yes.
I proceeded to indulge myself in chocolate at work, thanks to my lovely coworkers. When Darren picked me up from work, he had a card waiting on the seat for me with an unexpected little gift inside - a Groupon for a wine education class, which we had been eying up last week...and which I didn't have money to buy at the time. We both love wine, but unlike beer, don't know much about it, so it was a great thing for him to gift to both of us. The somewhat-unfortunate twist was that he didn't realize when he bought it last week that the promotional value expired a week later. Meaning, Monday, the day before Valentine's Day. Shady Groupon place and their shady timeline. No big deal though, because the paid amount never expires so we can still use it, but we'll just end up paying the full price when the time comes.
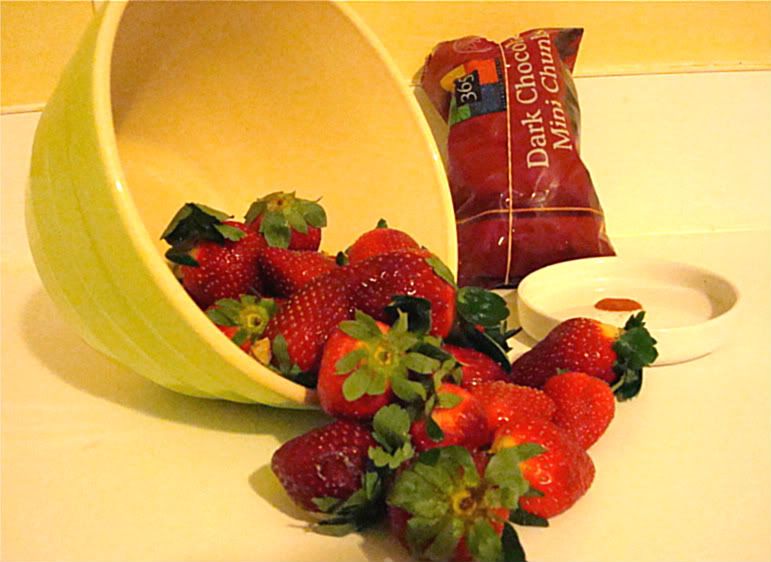
When we got home, we proceeded to make dinner as usual and then Darren ran off to basketball. While he was gone, I decided to take advantage of some leftover dark chocolate we had and make chocolate covered strawberries.
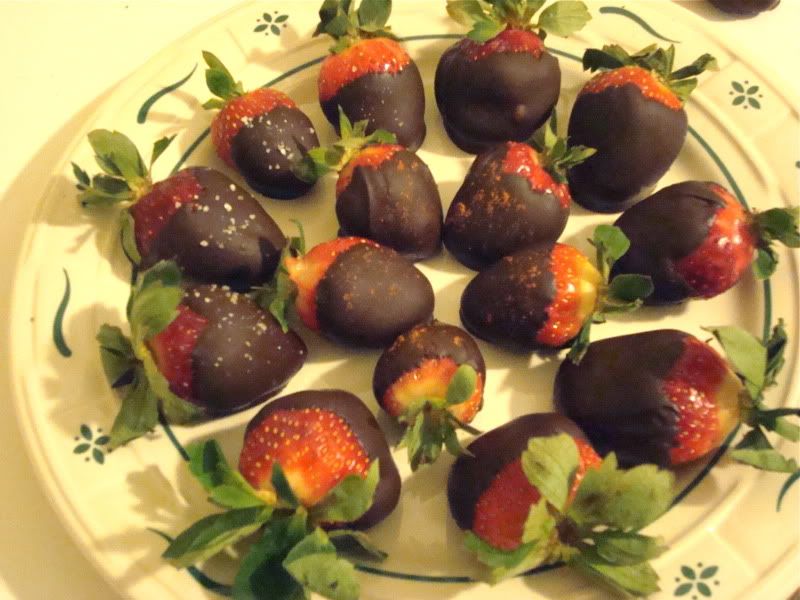


Oh, and then filling with strawberries. I did a row of the salty sweet, a row of regular dark, and a row of cayenne spiced.
When Darren arrived home, he opened his card and we proceeded to enjoy the strawberries alongside a cheap, half-full bottle of champagne that had been sitting in the frig (yet was still as carbonated and delicious as the day we opened it). Classy, right?
Between the cheesy displays of affection via post it notes, a somewhat expired Groupon gift, and a half bottle of cheap champagne, you probably think we have a dysfunctional relationship. To tell you the truth, it was totally 'us' and I wouldn't have had it any other way.
PS: The strawberries came out great! I loved the salty sweet ones. The spicy ones actually weren't really spicy - you could tell there was a hidden flavor, but the heat didn't really come through. It could just be that we have a good tolerance for spicy food. I might consider adding more cayenne next time, unless I'm feeding them to spice-intolerant friends or family, of course.

I have to admit...I generally don't go crazy over Valentine's Day. As much as I love decorating for holidays (and in general), Valentine's Day isn't something I go ga-ga about. Maybe it's because I (mostly) hate the color pink. Maybe it's because I don't like how the media seems to tell us that if we aren't buying All The Things for our partner that we don't love them enough. Or maybe I'm just a believer in doing the little things that show you care about your loved ones each day, not just on a day that 'designates' you to do so. Regardless, we don't do fancy dinners, or expensive gifts or grand public gestures of appreciation for Valentine's Day. While I love seeing others become joyful over those things, it's just not our style.
So in true DIY, made-with-love form, I raise a toast of cheap champagne (though not because I think cheaply of you) to you and your valentines, and I bring you our Valentine's Day.
The morning started with Darren waking up to find 12 post it notes I wrote out last night with cupid arrows drawn on them, each saying "I love you because..." with a reason underneath each arrow. The picture did not come out clear at all, probably due to the fact that I took it on my
I proceeded to indulge myself in chocolate at work, thanks to my lovely coworkers. When Darren picked me up from work, he had a card waiting on the seat for me with an unexpected little gift inside - a Groupon for a wine education class, which we had been eying up last week...and which I didn't have money to buy at the time. We both love wine, but unlike beer, don't know much about it, so it was a great thing for him to gift to both of us. The somewhat-unfortunate twist was that he didn't realize when he bought it last week that the promotional value expired a week later. Meaning, Monday, the day before Valentine's Day. Shady Groupon place and their shady timeline. No big deal though, because the paid amount never expires so we can still use it, but we'll just end up paying the full price when the time comes.
When we got home, we proceeded to make dinner as usual and then Darren ran off to basketball. While he was gone, I decided to take advantage of some leftover dark chocolate we had and make chocolate covered strawberries.
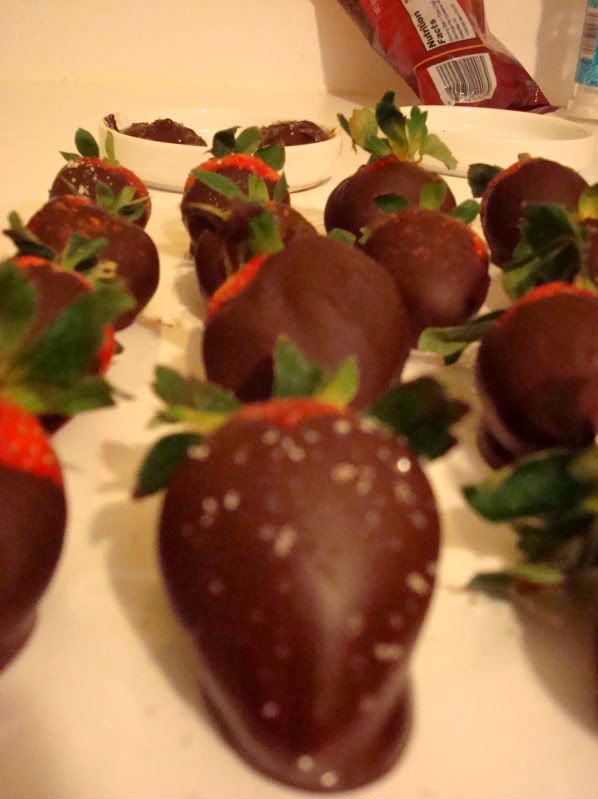
Chocolate covered strawberries are just about one of the easiest desserts you can make. I wanted to jazz them up a little bit by experimenting with some salty/sweet and spicy chocolate combos, so I pulled out some sea salt and cayenne pepper. I dumped a little more than a cup of dark chocolate chunks into a small bowl and heated them in the microwave, stopping to stir every 15 seconds. I know that sounds ridiculous, but if you choose to melt chocolate in the microwave, you must stir it frequently to distribute the heat and keep the chocolate from burning. As long as you obey that rule, microwave melting is much faster than stovetop melting. My plan of attack was to dip a little more than half the strawberries in the regular dark chocolate, then mix the cayenne pepper into the chocolate to do the rest.
Right after dipping in the chocolate and giving a little twist to catch any drips, I placed them on top of a freezer bag to cool and reharden. Normally you would put them on wax paper, but I realized after I started melting the chocolate that we were out. Oops. I gave a little sprinkle of coarsely ground sea salt over the top of some of the dipped strawberries while they were still melty, and left others plain. When I only had about 6 or 8 left to dip, I mixed about 1/8 tsp of cayenne pepper into the dark chocolate and proceeded to coat the rest. Then I quickly sprinkled some cayenne over the tops in order to identify the spiced ones from the regular ones. At this point, many had hardened enough that I could remove them from the wax paper freezer bag and put them on a plate in the frig to chill.
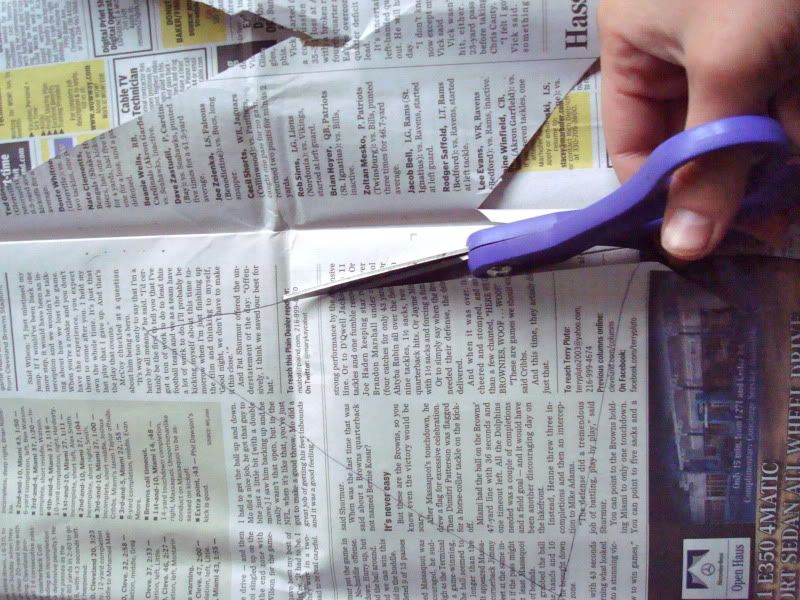
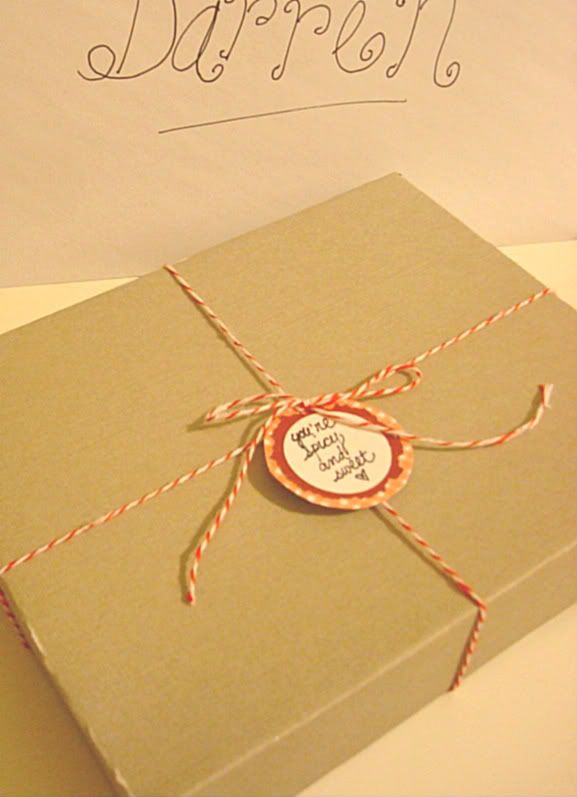
Since I was hoping to present them a little more fancily than "oh hey, check out the plate in the frig," I decided to make a little box to put them in. It was as simple as google-ing "paper box template" and picking one of the many options that popped up. The one I used was from mirkwooddesigns.com, and it was fittingly called "candy box."
When I printed it in it's original size, it looked a bit too small to hold a bunch of strawberries, so I just adjusted my printer settings to 125% and reprinted. It was as simple as tracing the top and bottom pieces on some card stock, cutting them out, folding along the lines, and gluing the corners in place.
Then I made a little tag out of paper scraps (it says...*geek alert*... "you're spicy and sweet <3 " to match the strawberries) and I tied everything up with baker's twine.
When Darren arrived home, he opened his card and we proceeded to enjoy the strawberries alongside a cheap, half-full bottle of champagne that had been sitting in the frig (yet was still as carbonated and delicious as the day we opened it). Classy, right?
Between the cheesy displays of affection via post it notes, a somewhat expired Groupon gift, and a half bottle of cheap champagne, you probably think we have a dysfunctional relationship. To tell you the truth, it was totally 'us' and I wouldn't have had it any other way.
PS: The strawberries came out great! I loved the salty sweet ones. The spicy ones actually weren't really spicy - you could tell there was a hidden flavor, but the heat didn't really come through. It could just be that we have a good tolerance for spicy food. I might consider adding more cayenne next time, unless I'm feeding them to spice-intolerant friends or family, of course.