5
All Hallows Eve
Happy Halloween everyone! I think what might be scariest about today is that it has been nearly a MONTH since I've posted anything! Admittedly, life has gotten in the way a bit this October - a trip to Chicago to run the Chicago Marathon with my good friend, Jeff, and a trip to Toledo to see my Grandma and visit my brother at BGSU, among other things - so I haven't been doing as many projects and posts as I would like. However, there must be some sort of voice inside my head telling me to make up for lost time, because I’ve decided to cram in a number of projects between last week and this week. I must be crazy...Is there a full moon tonight?...Sometimes I hate that little voice...Anyway, you know what ‘lots of projects’ means. Lots of things to post about! So, I will be back in a couple days to dish on some typography art I made, and then soon after that with an outdoor house upgrade and some DIY baby shower gifts. But for now, in honor of Halloween, I thought I would share our pumpkin carving activities from this weekend, along with a few tips and tricks my family likes to use.
This weekend was another busy one. We hit up The Brew Kettle on Friday to buy some ingredients so that we could homebrew the second of two beers we plan to have ready for our holiday party in December. (Check out this post for a glimpse into how we brew beer in our kitchen.) On Saturday, my dad came over to help Darren with an outdoor project that we needed to finish before the ground freezes (which is quickly approaching!). Meanwhile, I did a little cleaning and worked on a typographic art gift for Darren’s niece/my goddaughter Olivia’s first birthday. I can’t believe how much that sweet little one has grown over the past year. This is a picture of her from last Halloween, wearing a pumpkin hat I made, just a week after she was born.

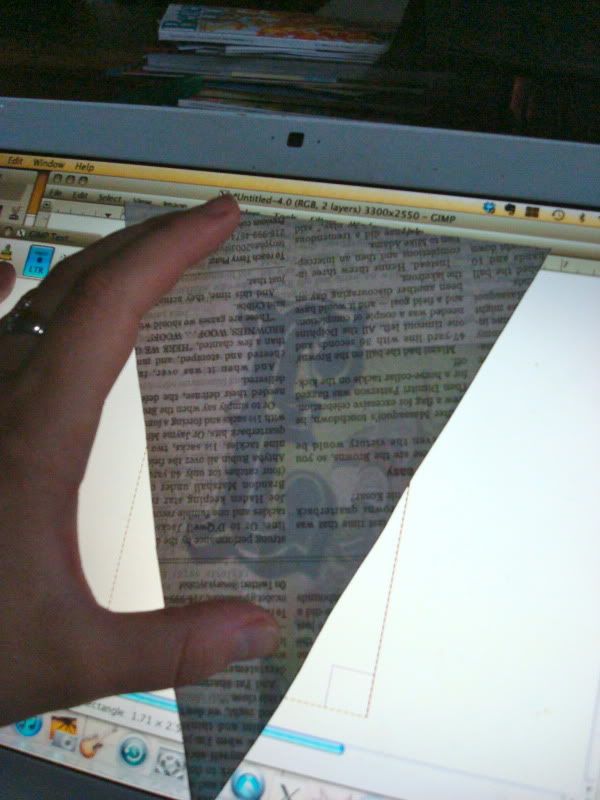
We brewed the beer on Sunday morning and I had Olivia’s “art” printed just in time to go to her party. Here’s a little preview (I’ll tell you more about how I made it on Wednesday):

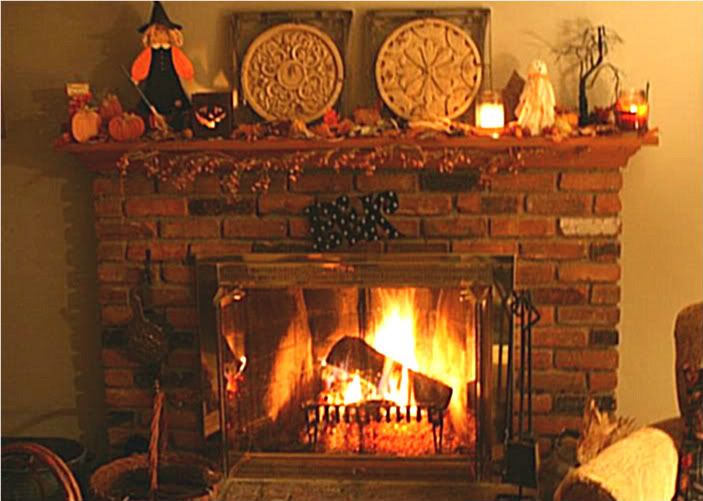
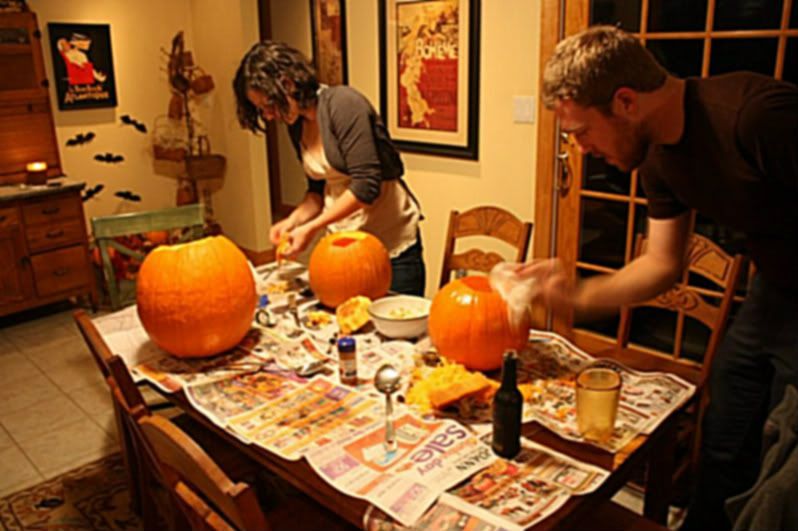
Her parents did a great job with the party – yummy food, an activity for the kids, and lots of people. Afterward, we went to my mom’s house to carve pumpkins. In true Corrie-and-Darren-procrastination-spirit – because planning ahead isfor smart people lame – we waited until the day before Halloween to buy our pumpkins. Bad choice. I/We stopped at 5 different places trying to find pumpkins, and were overjoyed to finally come across some pathetic looking, on-the-verge-of-rotting ones at Giant Eagle. Didn’t matter. It was something to carve. All was made better when we arrived at my mom’s house, where she had everything ready, including drinks and a cozy fire, which our dog, Remy, loves. (To clarify, Remy loves the fire, not the drinks...though she HAS been known to try stick her face in my wine glass when I’m not looking, so maybe the latter is true as well).
My mom tried to get in some pics when she wasn’t doing her own carving. Since most people probably already know how to carve a pumpkin, I don’t feel the need to give you a complete rundown, but here’s the pics with a few tips...pics and tips...that sounds fun.
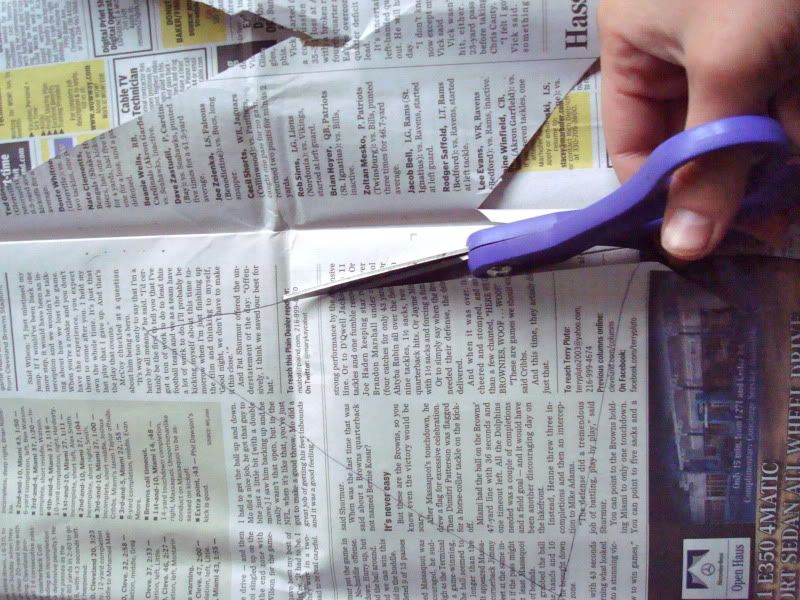
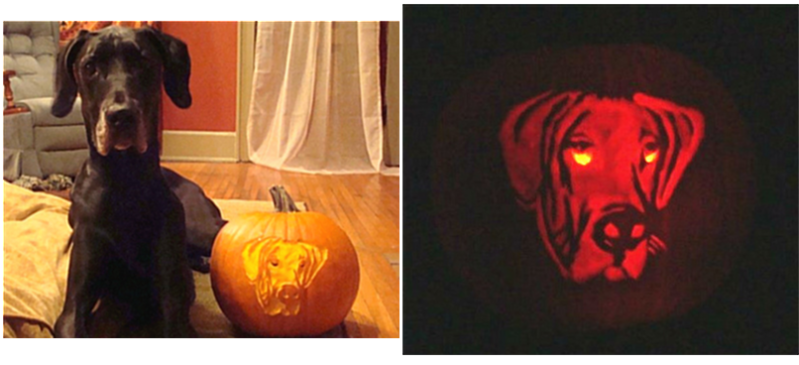
Look for a pattern online. Better Homes and Gardens has some great free ones for all experience levels, including dog breed patterns, though Remy was offended that they didn’t have a Great Dane. Print out your pattern and hold it up to your pumpkin. Cut inward slits in the places where the pattern is not laying very flat to help form it around your pumpkin. Secure it with tape or pins. Use a pen, pushing really hard, or use something with a point to poke holes in order to trace the pattern onto the pumpkin. Putting transfer paper under your pattern is the easiest, if you have it, and you don’t have to press as hard when you use it.
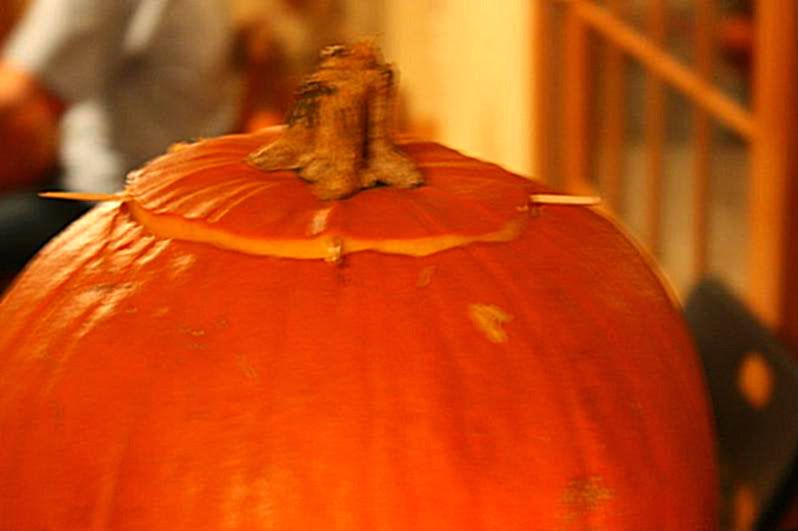
When you cut out your pumpkin lid, be sure to angle the knife outward from the center of the hole so that there is a slanted ridge for the lid to rest on when you put it back in place. Otherwise, if you cut straight up and down, you risk your lid falling through your pumpkin. Take it from Darren. He had to rig his up with some toothpicks. Rookie mistake.
For a sweet smelling surprise when you light your pumpkin, sprinkle cinnamon on the underside of your lid after you cut off the goopies. Goopies is the technical name, you know.
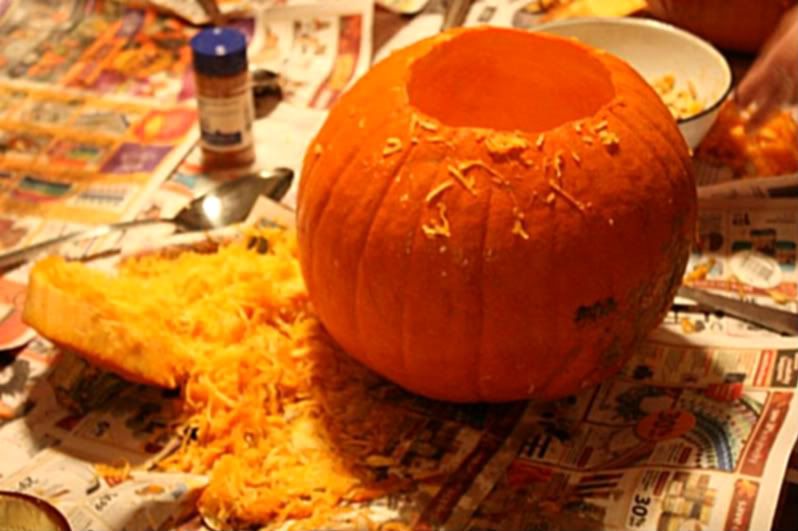
It's worth picking through the goopies to pull out all the pumpkin seeds - think of it as a bonus snack. Lay them on a baking sheet to dry a bit, then mix in a bowl with 2 teaspoons of melted butter (or olive oil) and spices. Try chili powder with cumin or cayenne for spicy, cinnamon and brown sugar for sweet, or just plain ol' seasoned salt. Spread them back out on the baking sheet in a thin layer and roast them in the oven at 300 degrees for 40 minutes, or until the seeds are light brown.
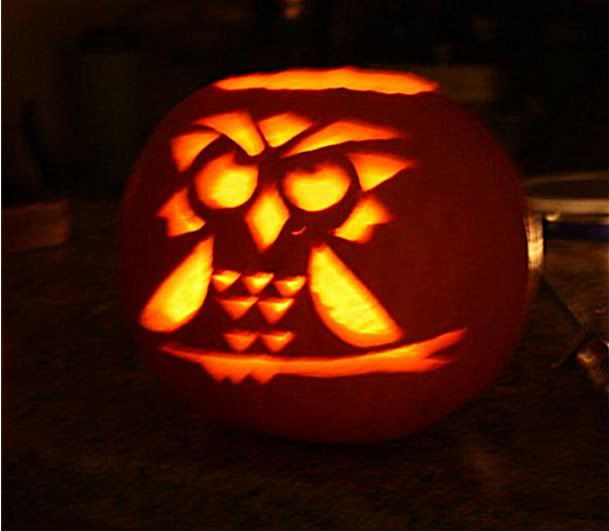
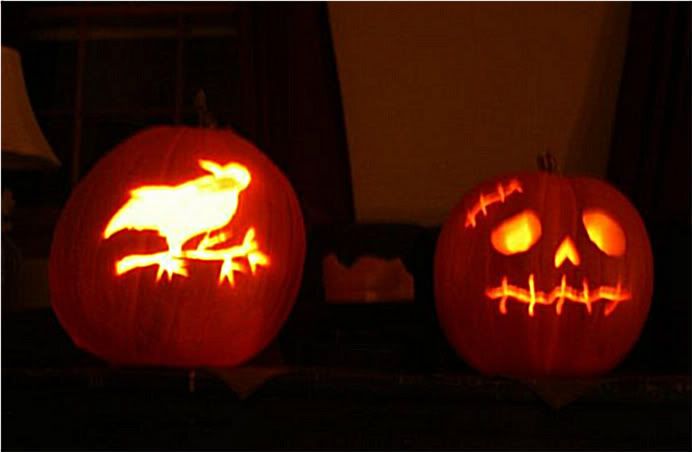
If you’re unsure of your carving abilities, pick something with simple shapes, like Darren’s owl. It wasn’t too challenging, but turned out super awesome. He was seriously doubting his carving abilities, but I think he did a great job. And now he has renewed confidence for next year.
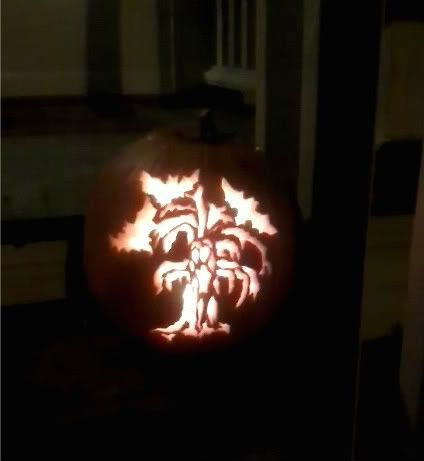
Or, if your eyes are bigger than your carving skills, you want to spend a couple hours getting to know your pumpkin, or don’t mind ending up with a claw hand by the time you’re done, pick a more complicated pattern with small openings, like I did. Overachiever mistake.

Ironically, the very last piece I carved out caused some other thinner sections to detach. If this happens, don't despair - you can use pieces of toothpicks to re-stabilize them.
Maybe carving out pumpkin chunks isn’t your idea of a good time. You can always ‘shade’ your pumpkin by just cutting away the outer skin and a little bit of the flesh. The light will still shine through, but with a softer glow that creates a different effect. Most of the pattern I carved two years ago was done using this method.
 Enjoy it as much as you can before it rots, or in our case, before the squirrels eat it! These were what my mom and sister carved.

This weekend was another busy one. We hit up The Brew Kettle on Friday to buy some ingredients so that we could homebrew the second of two beers we plan to have ready for our holiday party in December. (Check out this post for a glimpse into how we brew beer in our kitchen.) On Saturday, my dad came over to help Darren with an outdoor project that we needed to finish before the ground freezes (which is quickly approaching!). Meanwhile, I did a little cleaning and worked on a typographic art gift for Darren’s niece/my goddaughter Olivia’s first birthday. I can’t believe how much that sweet little one has grown over the past year. This is a picture of her from last Halloween, wearing a pumpkin hat I made, just a week after she was born.
We brewed the beer on Sunday morning and I had Olivia’s “art” printed just in time to go to her party. Here’s a little preview (I’ll tell you more about how I made it on Wednesday):
Her parents did a great job with the party – yummy food, an activity for the kids, and lots of people. Afterward, we went to my mom’s house to carve pumpkins. In true Corrie-and-Darren-procrastination-spirit – because planning ahead is
My mom tried to get in some pics when she wasn’t doing her own carving. Since most people probably already know how to carve a pumpkin, I don’t feel the need to give you a complete rundown, but here’s the pics with a few tips...pics and tips...that sounds fun.
Look for a pattern online. Better Homes and Gardens has some great free ones for all experience levels, including dog breed patterns, though Remy was offended that they didn’t have a Great Dane. Print out your pattern and hold it up to your pumpkin. Cut inward slits in the places where the pattern is not laying very flat to help form it around your pumpkin. Secure it with tape or pins. Use a pen, pushing really hard, or use something with a point to poke holes in order to trace the pattern onto the pumpkin. Putting transfer paper under your pattern is the easiest, if you have it, and you don’t have to press as hard when you use it.
When you cut out your pumpkin lid, be sure to angle the knife outward from the center of the hole so that there is a slanted ridge for the lid to rest on when you put it back in place. Otherwise, if you cut straight up and down, you risk your lid falling through your pumpkin. Take it from Darren. He had to rig his up with some toothpicks. Rookie mistake.
For a sweet smelling surprise when you light your pumpkin, sprinkle cinnamon on the underside of your lid after you cut off the goopies. Goopies is the technical name, you know.
It's worth picking through the goopies to pull out all the pumpkin seeds - think of it as a bonus snack. Lay them on a baking sheet to dry a bit, then mix in a bowl with 2 teaspoons of melted butter (or olive oil) and spices. Try chili powder with cumin or cayenne for spicy, cinnamon and brown sugar for sweet, or just plain ol' seasoned salt. Spread them back out on the baking sheet in a thin layer and roast them in the oven at 300 degrees for 40 minutes, or until the seeds are light brown.
If you’re unsure of your carving abilities, pick something with simple shapes, like Darren’s owl. It wasn’t too challenging, but turned out super awesome. He was seriously doubting his carving abilities, but I think he did a great job. And now he has renewed confidence for next year.
Ironically, the very last piece I carved out caused some other thinner sections to detach. If this happens, don't despair - you can use pieces of toothpicks to re-stabilize them.
Maybe carving out pumpkin chunks isn’t your idea of a good time. You can always ‘shade’ your pumpkin by just cutting away the outer skin and a little bit of the flesh. The light will still shine through, but with a softer glow that creates a different effect. Most of the pattern I carved two years ago was done using this method.
Feel free to share links/pictures of YOUR pumpkins – it’s so fun to see what everyone made! Happy haunting tonight!